
Crème brûlée—just saying the name makes you think of that creamy, velvety custard topped with a perfectly crisp caramelized sugar crust. But what if you’re ready to whip up this classic French dessert and realize you don’t have a kitchen torch? Don’t worry! You’re not alone in asking, “What can I use if I don’t have a crème brûlée torch?” The good news is, there are plenty of creative and effective alternatives that’ll give you that signature crack without the fancy tools.
In this article, we’ll dive into several easy, torch-free methods for caramelizing the sugar on your crème brûlée. From using your oven’s broiler to heating up a simple kitchen spoon, we’ve got you covered. We’ll also tackle some common questions, like whether a candle lighter does the trick, or if you can get by without ramekins. Ready to become a crème brûlée pro? Let’s jump in!
Introduction to Making Crème Brûlée Without a Torch
The Classic Dessert with a Modern Twist
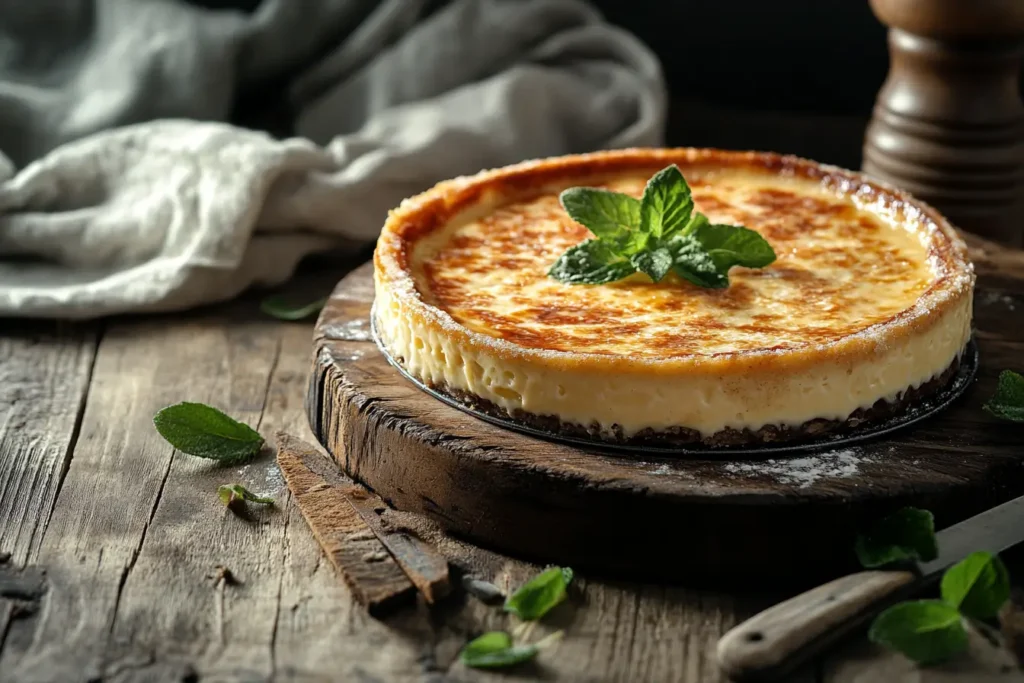
Crème brûlée has been a beloved dessert for centuries, known for its smooth custard base and that irresistible, glass-like sugar topping. Traditionally, chefs use a kitchen torch to caramelize the sugar, creating that satisfying crack when you tap your spoon into it. But not everyone has a torch sitting in their kitchen drawer—and that’s okay!
These days, there’s a growing trend of home cooks embracing alternative methods for crème brûlée, proving that you don’t need fancy gadgets to make delicious desserts. With a little creativity and the right technique, you can get that perfect caramelized top using tools you already have at home.
Why You Might Not Have a Torch
Let’s be real—kitchen torches aren’t exactly an everyday cooking tool. Unless you’re a frequent crème brûlée maker or enjoy torching meringues and marshmallows, it might not seem worth the investment. Maybe you’re just trying the recipe for the first time, or you don’t want to clutter your kitchen with specialty gadgets. Whatever the reason, you’re probably wondering, “What can I use if I don’t have a crème brûlée torch?”
Luckily, the answer is simpler than you might think. From using your oven’s broiler to creative hacks like a heated spoon, there are plenty of ways to achieve that caramelized sugar crust without breaking the bank—or a sweat.
Overview of Alternative Methods for Caramelizing Sugar
So, what are these magical methods? Here’s a sneak peek at what’s coming up in this article:
- Using Your Oven Broiler: A common household tool that can easily mimic the effects of a torch.
- The Hot Spoon Method: A clever, old-school trick that requires nothing more than a metal spoon and a heat source.
- Candle Lighters and Other Flame Sources: Can these small flames really do the job? We’ll find out.
- Stovetop Caramelization: Making caramel separately and pouring it over your custard for that signature crunch.
We’ll also cover some handy tips if you don’t have traditional ramekins and answer popular questions from curious home cooks. By the time you’re done reading, you’ll know exactly how to make crème brûlée without a torch—and you might even prefer these methods!
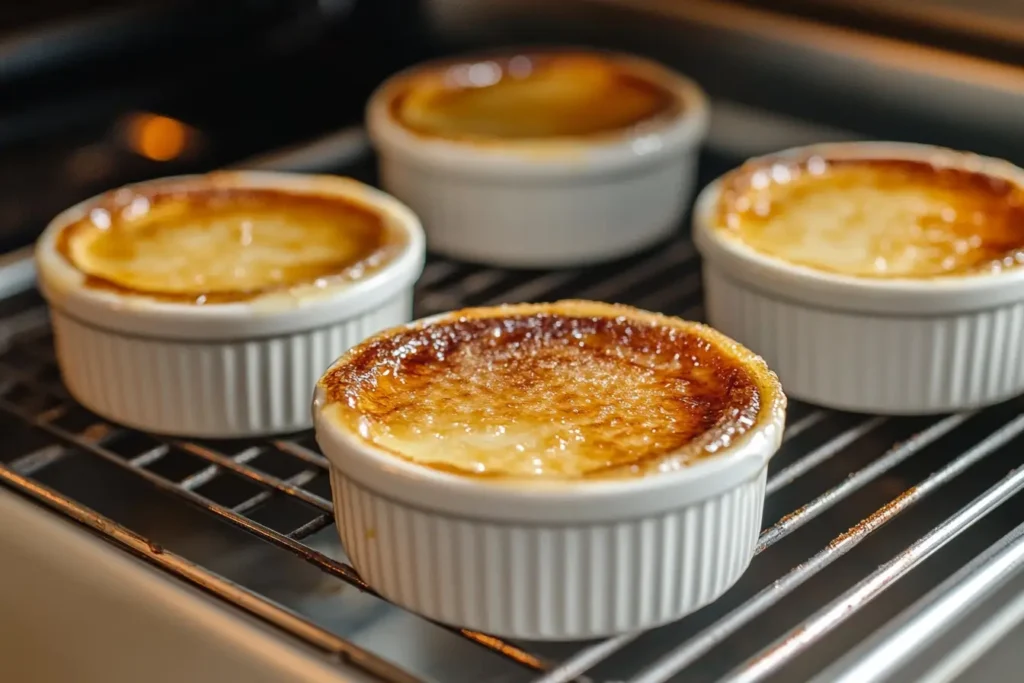
Using Your Oven Broiler When You Don’t Have a Crème Brûlée
How to Use the Broiler to Achieve a Perfect Crust Without a Torch
If you’re wondering “What can I use if I don’t have a crème brûlée torch?”, your oven broiler might be the easiest and most accessible solution. Almost every modern oven comes with a broiler setting, designed to provide intense, direct heat from above—perfect for caramelizing sugar.
Here’s how to use it:
- Prep Your Crème Brûlée: Once your custard is set and chilled, sprinkle an even layer of granulated sugar on top. Make sure it’s thin enough to melt evenly but thick enough to form that satisfying crack.
- Position Your Ramekins: Place your ramekins on a baking sheet, then move them to the top rack of your oven—about 2 to 3 inches from the broiler element.
- Broil with Care: Turn on the broiler and leave the door slightly ajar. Keep a close eye, as the sugar can go from golden to burnt in a flash. It usually takes about 2-3 minutes for the sugar to bubble and caramelize.
- Cool Before Serving: After broiling, let the crème brûlée cool for a few minutes. This will help the sugar harden into that perfect, glassy shell.
For more broiling tips and to learn how this technique works in other recipes, check out this guide on how to caramelize brulee.
Pros and Cons of Using a Broiler Instead of a Crème Brûlée Torch
While the broiler is a convenient option, it does come with its ups and downs.
Pros:
- Accessible: Almost everyone has an oven with a broiler function.
- Hands-Free: You can let the broiler do its thing while you prep other dishes.
- Even Caramelization: The direct heat covers the entire surface at once.
Cons:
- Less Control: It’s harder to target specific spots if the sugar isn’t caramelizing evenly.
- Risk of Overheating: The custard might get too warm, affecting its smooth texture.
- Potential for Uneven Browning: If your oven heats unevenly, you might get patches of burnt sugar.
Despite these minor drawbacks, the broiler is a solid alternative when you don’t have a torch handy.
Tips for Preventing Overheating or Uneven Caramelization Without a Torch
To avoid common pitfalls, here are a few handy tips:
- Chill the Custard Well: Make sure your custard is thoroughly chilled before broiling to prevent it from getting too warm.
- Rotate the Baking Sheet: Halfway through broiling, rotate the sheet to ensure even heat distribution.
- Use a Thin Sugar Layer: Too much sugar can result in an uneven crust. A thin, even layer melts more consistently.
- With a little attention, your broiler can create that classic crack just as well as a torch!
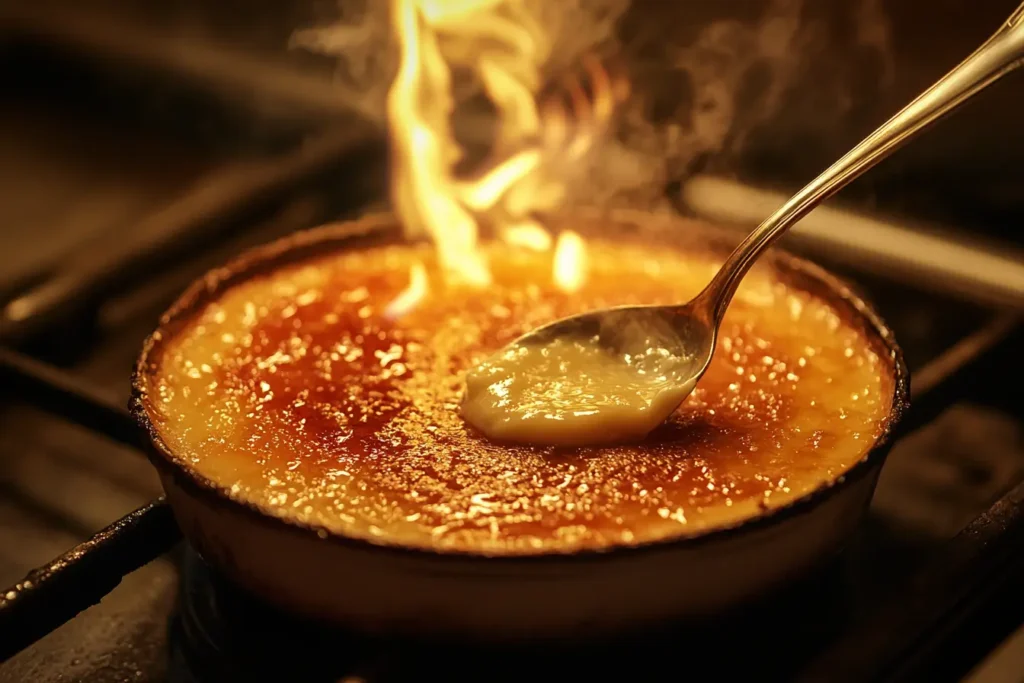
The Hot Spoon Method – A Clever Alternative to a Crème Brûlée Torch
How to Caramelize Sugar with a Heated Spoon Instead of a Torch
If you’re still asking, “What can I use if I don’t have a crème brûlée torch?”, this next method might surprise you. The hot spoon method is an old-school, ingenious trick that requires nothing more than a metal spoon and a flame.
Here’s how it works:
- Sprinkle the Sugar: Just like before, add a thin layer of granulated sugar over your chilled crème brûlée.
- Heat the Spoon: Hold a large metal spoon over an open flame (like your stovetop burner) until it’s piping hot. Be careful—use oven mitts or a thick towel to protect your hand!
- Press and Caramelize: Gently press the back of the hot spoon onto the sugar. You’ll hear a satisfying sizzle as the sugar melts and browns. Continue heating and pressing until the entire surface is caramelized.
- Cool and Enjoy: Let it cool for a minute, and you’ll have a beautifully caramelized topping with that signature snap.
Best Practices to Avoid Burning Sugar When You Don’t Have a Crème Brûlée Torch
While this method is fun and simple, it does require a bit of finesse. Here’s how to get the best results:
- Use a Heavy Metal Spoon: Thin spoons don’t retain heat well and might not caramelize the sugar evenly.
- Work Quickly: The spoon cools down fast, so reheat as needed to maintain consistent caramelization.
- Don’t Press Too Hard: A light touch is all you need. Pressing too firmly might scorch the sugar or damage the custard’s delicate texture.
With a little practice, you’ll master this clever hack and wow your guests with a perfectly crisp crème brûlée.
Does the Hot Spoon Method Work as Well as a Crème Brûlée Torch?
You might be wondering, “Is this method really as good as using a torch?” The answer? It depends on what you’re looking for.
Pros:
- No Special Equipment Needed: Everyone has a metal spoon lying around!
- Fun and Interactive: This method feels like a cool science experiment in your kitchen.
- Good Control: You can target specific spots if needed.
Cons:
- Time-Consuming: It takes longer than using a torch or broiler.
- Less Even Finish: The caramel layer might be a bit patchy compared to other methods.
While it may not provide the same flawless finish as a torch, the hot spoon method is a fantastic, torch-free alternative that gets the job done. Plus, it’s a great conversation starter!
Can You Use a Candle Lighter or Other Flame Sources?
The Effectiveness of Using a Candle Lighter for Crème Brûlée
So, what can I use if I don’t have a crème brûlée torch? You might be eyeing that candle lighter sitting in your kitchen drawer, wondering if it could do the trick. While it’s not the ideal tool, a candle lighter can caramelize the sugar on top of your crème brûlée—with a little patience.
Here’s how to use a candle lighter effectively:
- Prep Your Crème Brûlée: Sprinkle a thin, even layer of sugar over the chilled custard.
- Use a Butane Candle Lighter: These lighters produce a stronger, steadier flame than regular lighters. Hold the flame just above the sugar and move it in small circles to avoid burning one spot.
- Work in Sections: Since the flame is small, it’s best to work in sections, ensuring each part is caramelized before moving on.
- Let It Cool: After the sugar is caramelized, let it cool for a few minutes to harden.
Safety Considerations When Using Small Flames
Using a candle lighter might seem like a quick fix, but safety should always come first. Here are a few important tips to keep in mind:
- Use Heatproof Ramekins: Make sure the ramekins are oven-safe and won’t crack under direct flame.
- Keep Flammable Items Away: Clear the area of paper towels, cloths, or anything that could catch fire.
- Don’t Overheat the Custard: Prolonged exposure to the flame could warm the custard too much, affecting its creamy texture.
While it’s a handy solution, always exercise caution when using open flames in the kitchen.
How to Get an Even Caramelization with a Candle Lighter
Achieving that perfectly even caramelized top with a candle lighter can be tricky, but it’s doable with a bit of technique:
- Move Constantly: Keep the flame moving to prevent burning one spot. Think of it like painting in small, even strokes.
- Layer the Sugar Right: A fine layer of sugar caramelizes more evenly. Too much sugar will result in a patchy, uneven crust.
- Tilt the Ramekin if Needed: If you’re having trouble reaching certain areas, gently tilt the ramekin for better access.
Though it might take longer than using a torch, a candle lighter can still give you that satisfying crack when you dig in.
Using a Stovetop to Caramelize Sugar
Making Caramel Separately and Pouring It Over the Custard
If you’re still wondering “What can I use if I don’t have a crème brûlée torch?” another great option is to make caramel on the stovetop and pour it over your custard. This method is slightly different from the traditional approach but delivers the same crunchy topping.
Here’s how to do it:
- Prepare the Caramel: In a small saucepan, melt sugar over medium heat until it turns a golden amber color. Stir gently to avoid burning.
- Pour Quickly: Once the caramel is ready, immediately pour a thin layer over your chilled custard. The caramel hardens fast, so work quickly!
- Let It Set: Allow the caramel to cool and harden before serving. You’ll still get that iconic crack when you tap your spoon into it.
Advantages and Disadvantages of Pre-Made Caramel Layers
Like any technique, this method comes with its pros and cons. Let’s break it down.
Pros:
- No Special Tools Needed: All you need is a saucepan and some sugar.
- Reliable Crunch: The caramel hardens into a firm layer, giving that satisfying crack.
- Consistent Results: Since you’re controlling the caramelization process directly, you avoid the risk of uneven browning.
Cons:
- Less Traditional: The texture might differ slightly from a torch-caramelized sugar topping.
- Timing is Critical: Caramel hardens fast, so you need to work quickly to spread it evenly.
- Potential for Overheating: If the caramel is too hot when poured, it can warm the custard underneath.
While it’s a departure from the classic method, stovetop caramel can still deliver a delicious result.
Tips for Achieving the Signature Crackle
To make sure your stovetop caramel turns out just right, follow these tips:
- Use White Granulated Sugar: It melts evenly and gives that beautiful amber color.
- Watch the Heat: Keep the heat at medium to avoid burning the sugar.
- Thin, Even Pour: A thin layer of caramel hardens more evenly and gives the perfect crunch without being too thick to break through.
And if you’re in the mood to try something unique, why not check out this Crab Brûlée Recipe? It’s a fun twist on the classic dessert and a great way to practice your caramel skills!
Other Creative Tools and Techniques for Crème Brûlée
Using a Heat Gun or Hair Dryer for Caramelization
If you’re still asking yourself, “What can I use if I don’t have a crème brûlée torch?”, you might be surprised to learn that tools like heat guns and even hair dryers can come to the rescue. While these aren’t traditional kitchen tools, they can work in a pinch, especially if you’re feeling a little adventurous.
Heat Guns are typically used for stripping paint or crafting, but their ability to blow hot, concentrated air makes them perfect for caramelizing sugar. To use one, sprinkle your sugar evenly over the custard, hold the heat gun a few inches away, and move it in slow, steady circles until the sugar melts and browns.
Hair Dryers, on the other hand, aren’t as powerful but can still work if they have a high heat setting. Just keep in mind that it will take longer, and you’ll need to be patient to get that golden caramel layer.
Innovative Hacks: From Spoons to Electric Griddles
Beyond heat guns and hair dryers, there are even more creative hacks to explore:
- Electric Griddles: If you have a flat-top griddle, you can heat a metal spatula or pan until it’s scorching hot. Press the heated surface directly onto the sugar to caramelize it. This method works similarly to the hot spoon technique but covers more area at once.
- Metal Skewers: Heat a metal skewer over a flame until it’s red-hot, then gently touch it to the sugar. It’s time-consuming but can be effective for small areas or touch-ups.
These hacks prove that even without specialized tools, you can still achieve that signature crack on your crème brûlée.
How Effective Are These Alternatives Compared to a Torch?
While these methods can get the job done, how do they stack up against a traditional torch? Here’s the breakdown:
Pros:
- Accessible Tools: You probably already have at least one of these items at home.
- Fun to Experiment: Trying out different techniques can be a fun kitchen adventure.
- Customizable: You can control how much or how little you caramelize each section.
Cons:
- Less Precision: These tools don’t offer the same control as a kitchen torch.
- Longer Caramelization Time: Some methods, like using a hair dryer, can be time-consuming.
- Inconsistent Results: Depending on the tool, the caramel might not be as evenly melted.
While nothing beats the convenience of a kitchen torch, these alternatives are great when you’re in a pinch or just want to try something new.
What If You Don’t Have Ramekins?
Best Substitutes for Ramekins in Making Crème Brûlée
Now that we’ve answered “What can I use if I don’t have a crème brûlée torch?”, let’s tackle another common question: What if you don’t have ramekins? Ramekins are the classic go-to for crème brûlée because of their small size and heat-resistant design, but you can definitely get creative with substitutes.
Here are some great alternatives:
- Mason Jars: These are heatproof and have a rustic charm. Just make sure to use wide-mouthed jars for easy caramelization.
- Small Ceramic or Glass Bowls: As long as they’re oven-safe, these work perfectly. Check the bottom for any oven-safe symbols before using.
- Muffin Tins: Believe it or not, muffin tins can be used in a pinch. Just be careful with the broiling or caramelizing steps to avoid uneven heat.
Choosing the Right Size and Material for Even Cooking
When selecting an alternative to ramekins, size and material matter a lot. Here’s what to keep in mind:
- Size: Choose containers that are similar in size to ramekins—typically about 4 ounces. Too large, and the custard may not set properly; too small, and it might overcook.
- Material: Go for materials that can handle high temperatures, like ceramic, glass, or metal. Avoid plastic or thin glass, as they can crack or melt under heat.
How Using Different Containers Affects the Final Texture
Using substitutes can slightly affect the final texture of your crème brûlée, but with the right precautions, you’ll still get that creamy custard with a perfect caramelized top.
- Heat Distribution: Metal containers heat up faster, which might make the custard cook more quickly. Ceramic and glass, on the other hand, heat more evenly, which helps maintain that smooth texture.
- Caramelization: If using unconventional containers like muffin tins, be extra cautious during the caramelizing process. The shape and depth can affect how evenly the sugar melts.
No ramekins? No problem! With a little creativity, you’ll still end up with a dessert that’s as delicious as ever.
FAQs About Making Crème Brûlée Without a Torch
What Can I Use Instead of a Torch for Crème Brûlée?
If you’ve been wondering, “What can I use if I don’t have a crème brûlée torch?”, the good news is there are plenty of options! You can use your oven’s broiler to caramelize the sugar evenly. Simply sprinkle a thin layer of sugar on your chilled custard and place it under the broiler for a few minutes until it bubbles and turns golden.
Another great option is the hot spoon method, where you heat a metal spoon over an open flame and press it against the sugar. For more unconventional tools, try using a heat gun or even a butane candle lighter—both can give you that perfect caramelized top with a bit of patience.
How to Torch Crème Brûlée Without a Torch?
You don’t need a fancy torch to get that perfect, glass-like sugar crust. Start by using your oven broiler—just make sure to keep a close eye on it to prevent burning. Alternatively, the stovetop caramel method works great: melt sugar in a pan until it turns amber, then pour it over the custard to harden into a crunchy layer.
For more control, try the hot spoon technique or use a butane lighter for precise caramelization. Each of these methods can help you achieve that satisfying crack without needing a kitchen torch.
Can You Make Crème Brûlée with a Candle Lighter?
Yes, you can! While it might not be as powerful as a torch, a butane candle lighter can still get the job done. After sprinkling sugar over your custard, hold the lighter close to the surface and move it in small circles. It takes a bit longer, but with patience, you’ll end up with a beautifully caramelized top.
Just be sure to use heatproof ramekins and watch closely to avoid burning the sugar or overheating the custard.
What Can I Use Instead of Ramekins for Crème Brûlée?
If you don’t have ramekins, there are plenty of alternatives that work just as well. Mason jars, small ceramic bowls, and even muffin tins can be great substitutes. Just make sure they’re oven-safe and the right size to ensure even cooking.
The key is to use containers that can withstand heat without cracking. With the right prep, you’ll still get that creamy custard and caramelized top, even without traditional ramekins.
Conclusion and Final Tips for Making Crème Brûlée Without a Torch
Recap of the Best Methods for Torch-Free Crème Brûlée
So, what can I use if I don’t have a crème brûlée torch? As we’ve explored, there are plenty of creative, effective methods to achieve that signature caramelized top. From using your oven broiler and the clever hot spoon method to unconventional tools like heat guns and butane lighters, the options are endless.
Even if you’re missing traditional ramekins, substitutes like mason jars and ceramic bowls will still deliver the perfect creamy custard with that satisfying sugar crack.
Final Thoughts on Flavor, Texture, and Presentation
While these torch-free methods might differ slightly in technique, the final results are just as delicious. Whether you prefer the broiler’s even caramelization or the fun of using a hot spoon, each method brings its own unique twist to this classic dessert. The key is to experiment and find what works best for you.
And remember, presentation matters! Whether you’re serving in a mason jar or a fancy dish, that golden caramelized top and creamy custard will steal the show.
Experiment and Enjoy: Making the Recipe Your Own
At the end of the day, making crème brûlée is about more than just following a recipe—it’s about having fun in the kitchen and putting your own spin on a timeless dessert. So don’t be afraid to experiment with different tools and techniques. You might even discover a new favorite method!
Now that you know what to use if you don’t have a crème brûlée torch, it’s time to roll up your sleeves, get creative, and enjoy every sweet, crunchy bite. Happy baking!